About The Project
Al-Farabi Science and technology park, together with UNICEF, announces “UniSat Nano-Satellite educational programme for girls (UNEPG)”, in purpose of training girls in designing, developing, assembling, testing nanosatellite system/subsystems.
This is software works as is a support backend of UniSat satellites. Writen with Python, Arduino Sketch, and C89.
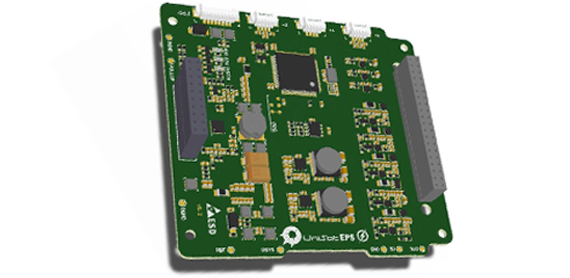
USK, or UniSat Software Kit, includes the software program for two of main UniSat boards, the OBC (On board computer) and the UniSense (UniSat Sensors and Experimental Board, or Sensor Board for short).
As we have girls in the team that are not very familiar with programming languages like C++ or C, or many of them have no background with linux driver development, we build USK as an absctract wrapper for all the functions and attributes that the sensors and OBC may provide.
The sensor board as a whole abstracted as a UniSense class, that you will able to read all the sensor data using Python’s .dot technique, and you don’t even have to import any extra drivers that are already included out of the box for you.
Built With
USK literally not use any frameworks, we use awesome little tools:
- Arduino Sketch
- RPi.GPIO
- Thonny
Getting Started
The philosophy of USK is “easy but powerful”, so it won’t be hard for anyone with just a little programming knowledge to get started.
Prerequisites
This is an example of how to list things you need to use the software and how to install them.
Git
We do think that you will run USK on your Linux machine (Or a MacOS) or micro-processors like RPi or micro-bit, USK dose support installing on Windows theoretically but not tested yet
Linux (RPi)
sudo apt update && sudo apt upgrade
sudo apt install git
Mac OS
If you don’t have brew, install it here, then you can install git from terminal:
brew update
brew upgrade
brew install git
build eseential(only for linux, you don’t have to do this on Mac)
sudo apt install build-essentialpython-dev(only for linux, you don’t have to do this on Mac)
Linux
sudo apt install python3-devInstallation
You can install the package using PyPi or Using Git, YOU DO NOT HAVE TO DO BOTH.
Using PyPi
sudo pip3 install uskRemember to use
sudoas we need to use the Raspberry Pi pins that only accessible for admins.
Using Git
- Open your terminal
- Clone the repo
git clone https://github.com/unisatkz/USK.git- Install Python packages
sudo python3 setup.py install - Import the package in Python
import uskUsage
You can use USK in highly abstracted way, using UniSat’s each board as a top class, and getting it’s value by calling it’s attributes and methods (recommended), for those who want much more detailed information, you can use USK sensors separately.
Example: UniSat Sensorboard as a class (Abstraction)
from usk.Sensor import UniSense # this acts as a whole.

sensor = UniSense()
sensor.update_data()
print(sensor.temperature_bme)
print(sensor.temperature_bno)
print(sensor.pressure)
print(sensor.UVindex)
print(sensor.humidity)
print(sensor.linear_acceleration)
print(sensor.IR)
print(sensor.magnetic)
sensor.print_attrs() # you can get all available attributes by this.
This is helpful when you want to getting started quickly.
import time
from usk.Sensor import UniSense

sensor = UniSense()
sensor.print_attrs()
while True:
    sensor.update_data()
    print(sensor.temperature_bme)
    print(sensor.temperature_bno)
    print(sensor.humidity)
    print(sensor.pressure)
    print(sensor.acceleration)
    print(sensor.gyro)
    print(sensor.magnetic)

    time.sleep(10)
using USK sensors separately
import time
from usk.back import BME
bme = BME()
if bme.ok():
    print(bme.temperature)
    print(bme.pressure)
    print(bme.humidity)
OBC example
from usk.OBC import Pi
pi = Pi()
print(pi.temperature)
print(pi.platform_info)
print(pi.python_version)
print(pi.ram)
print(pi.rom)
Roadmap
See the open issues for a list of proposed features (and known issues).
Contributing
Any contributions you make are greatly appreciated.
- Fork the Project
- Create your Feature Branch (
git checkout -b feature/AmazingFeature) - Commit your Changes (
git commit -m 'Add some AmazingFeature') - Push to the Branch (
git push origin feature/AmazingFeature) - Open a Pull Request


